1.2 Using Buttons
-
Have you ever thought about how often you press buttons or switches every day? Flicking a light switch, using a phone or a microwave, or playing a video game? A button is one of the simplest ways to trigger an action in our code. We’re going to use the buttons on front of the micro:bit to make different things appear on the micro:bit display.
-

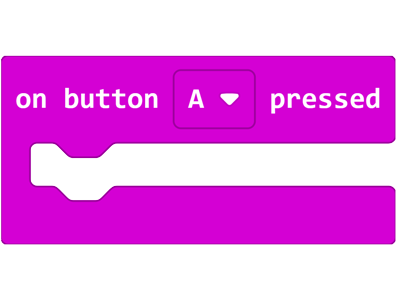
The micro:bit has two buttons built into the front of the board. Buttons are an input. Inputs let us detect something in the real world, which we can then use to trigger an action in our code. We can use the micro:bit buttons to trigger actions in our code with the on button pressed block.
Buttons are one of the simplest inputs that we’ll use - there are a whole range of other inputs that you might encounter. Things like sensors, microphones, switches, and cameras are all inputs as well.
Here are some tips on how to use the micro:bit buttons:
- You can find all of the button code blocks in the Input menu in MakeCode.
- The two buttons are referred to using the letters A and B.
- Button A is on the left and button B is on the right.
- Use the on button pressed block to trigger code when a button is pressed.
- The on button pressed block can be set to button A, button B, or button A+B.
- Button A+B triggers code when both buttons are pressed at the same time.
- You can find all of the button code blocks in the Input menu in MakeCode.
-
The Challenge
- When you press the A button, your name is shown on the micro:bit display.
- When you press the B button, your partner's name is shown on the micro:bit display.
Required Device
- 1 micro:bit
Suggested Blocks
- show string
- on button pressed
-

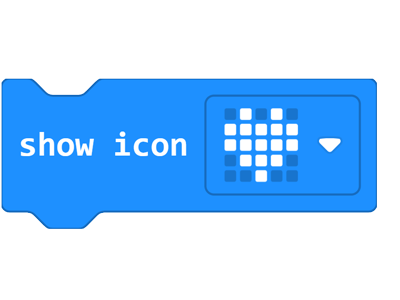
The micro:bit can show basic images on its display simply by turning different LEDs on and off. There are 25 LEDs on the micro:bit display, and you might be surprised at how many different icons and images you can create. There's already a range of icons and images built into the micro:bit that you can access right away using the show icon block.
Here are some tips on how to use the show icon block.
- You can find the show icon code block in the Basic menu in MakeCode.
- The show icon block can show an image from the micro:bit's icon library.
- The icon library includes a heart, a duck, a smiley face, a ghost, and a range of other icons.
-
The Challenge
- When you press the A button, your chosen icon is shown on the micro:bit display.
- When you press the B button, your partner's chosen icon is shown on the micro:bit display.
Required Device
- 1 micro:bit
Suggested Blocks
- show icon
- on button pressed
Bonus Challenge
- Can you create a custom icon using the show leds block?
-

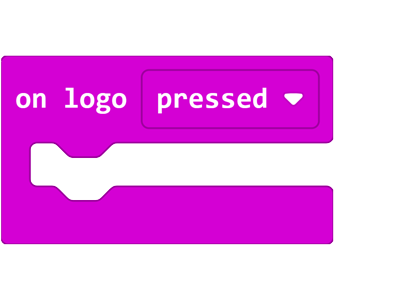
The logo on the micro:bit can act as a capacitive touch sensor, which is also how modern phones and tablets detect touch. We can do this by using the
on logo pressed block. By using this block, we can detect whether the logo has been touched, released, pressed, or long pressed.The touched action is triggered when the logo is currently being touched, and the released action is triggered when the logo has just stopped being touched. The pressed and long pressed actions are triggered when the logo is released. If both events are in the same project, the length of time for which the logo was pressed determines which code is run.
Here are some tips on how to use the on logo pressed block:
- You can find the on logo pressed code block in the Input menu in MakeCode.
- on logo pressed can detect when the logo has been touched, released, pressed, or long pressed.
- Multiple on logo pressed blocks can be used for handling different actions with the logo capacitive touch sensor.
-
The Challenge
- When the logo is touched, your chosen icon is shown on the micro:bit display.
- When the logo is released, the display is cleared.
Required Device
- 1 micro:bit
Suggested Blocks
- show icon
- clear screen
- on logo pressed
Hints
- For this challenge, try using the on logo touched and
on logo released functions. You don't need the default option, which is on logo pressed. - When you are using on logo touched and
on logo released in the simulator, you can simulate touch and release by clicking on the logo with your mouse, then releasing your click while the mouse cursor is still hovering over the logo.
-

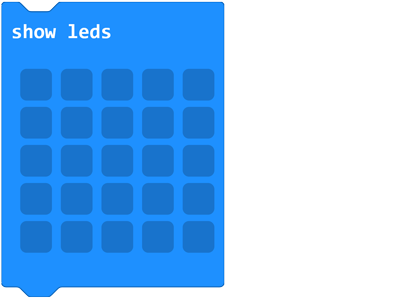
We can create our own image for the micro:bit display using the show leds block, which lets us individually control the lights that make up the micro:bit display. This block gives us a square of 25 lights, just like the LEDs on the front of the micro:bit. We can click the lights in MakeCode to turn them on and off and create our own image.
We can connect multiple show leds blocks together to make a sequence of different images, which will become an animation. Any animation is made up of a series of pictures, also called frames. Often animations are made of so many pictures moving so quickly that we can't even see each picture. If we connect several show leds blocks together with different images, the micro:bit will cycle through these images to create an animation.
Here are some tips on how to use the show leds block:
- You can find the show leds code block in the Basic menu in MakeCode.
- The show leds block has the same number of lights as the micro:bit display.
- Click on the lights in the show leds block to turn them on and off. The micro:bit will turn the lights in the display on and off to match your code block.
- Connect several show leds blocks together to create an animation.
- You can find the show leds code block in the Basic menu in MakeCode.
-
The Challenge
- When you press the A and B buttons together, an animation that you have created is shown on the micro:bit display.
Required Device
- 1 micro:bit
Suggested Blocks
- show leds
- on button pressed
Bonus Challenges
- Can you figure out how to make some animation frames stay on the display for longer than others?
- Can you create an animation that incorporates pre-made icons from the show icon block, as well as your own icons by using the show leds block?
-
Now that you've finished this lesson, you should know how to use the micro:bit buttons to show strings and icons on the micro:bit display, and how to control the display to make your own icons.
In lesson 3, we'll learn how to use the micro:bit light sensor, how to create a bar graph, and how to use Conditionals and Comparisons to write more complex programs.